If you intend to do a WordPress directory website or other self-hosted directory, then you will need good web hosting. The best web hosting we recommend for your niche or local directory website is from Cloudways.

Our own directory website VendorsForEvents.com as well as this blog is hosted on Cloudways. This recommendation is coming from personal experience with the platform.
The main reason that we use and recommend Cloudways is that it gives us non-developers the power of a managed cloud web host, makes it easy to use, and it’s affordable.
The great thing is you can get a 3-day trial of Cloudways to test it out, free! You don’t even have to enter a credit card to start.
Yes, Shared Hosting like from our previous web host Bluehost is cheaper, but there are clear benefits to choosing a managed cloud host provider like Cloudways.
As your directory website grows and gets popular, it will need more resources to run it than you get with shared hosting.
Cloudways Benefits For Your Directory Website
This Cloudways review has more in-depth reasons for choosing them.
How To Get a Cloudways Free Trial
Now that you know why you should choose Cloudways and that you can get a 3-day free trial, here’s how you can get it.
Since Cloudways is basically giving you a server for 3 days for free, they have to ensure its not being abused by spammers.
To defeat this, Cloudways has implemented a 2-step verification process that uses your email and phone. This ensures only real people (like you) are signing up for their free trial.
Please don’t see this as a hindrance; you will be very happy with Cloudways. You may need to take similar steps to fight spam hitting your directory website. Here are the steps to get a Cloudways free trial:
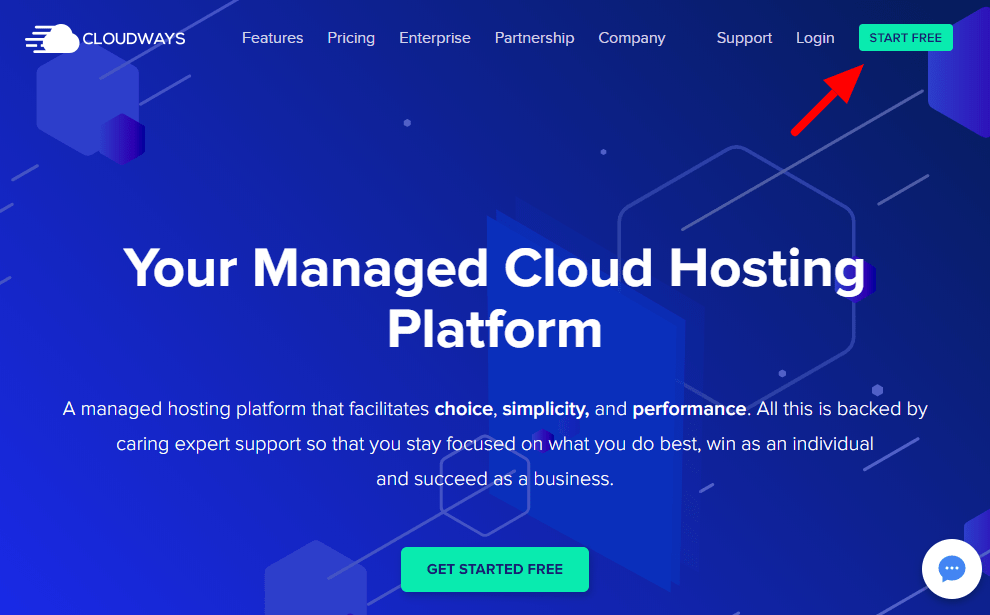
Step 0: Visit Cloudways and click on the “Start Free” button
Step 1: Complete their sign up form
Step 2: Verify your account
Step 3: Verify your telephone number
Step 4: Verify your email address
Step 5: Choose and configure your server
Step 6: Launch!
Step 0: Visit Cloudways, Click the “Start Free” Call-to-Action Button.
To get started, go to the Cloudways website.
Step 1: Complete and Submit the Cloudways Free Trial Sign Up Form
See the screenshot GIF below on completing the sign up form.
Once you enter your information in all the fields and you click “Start Free”, you will see it change to a button that says “Please Wait…”.
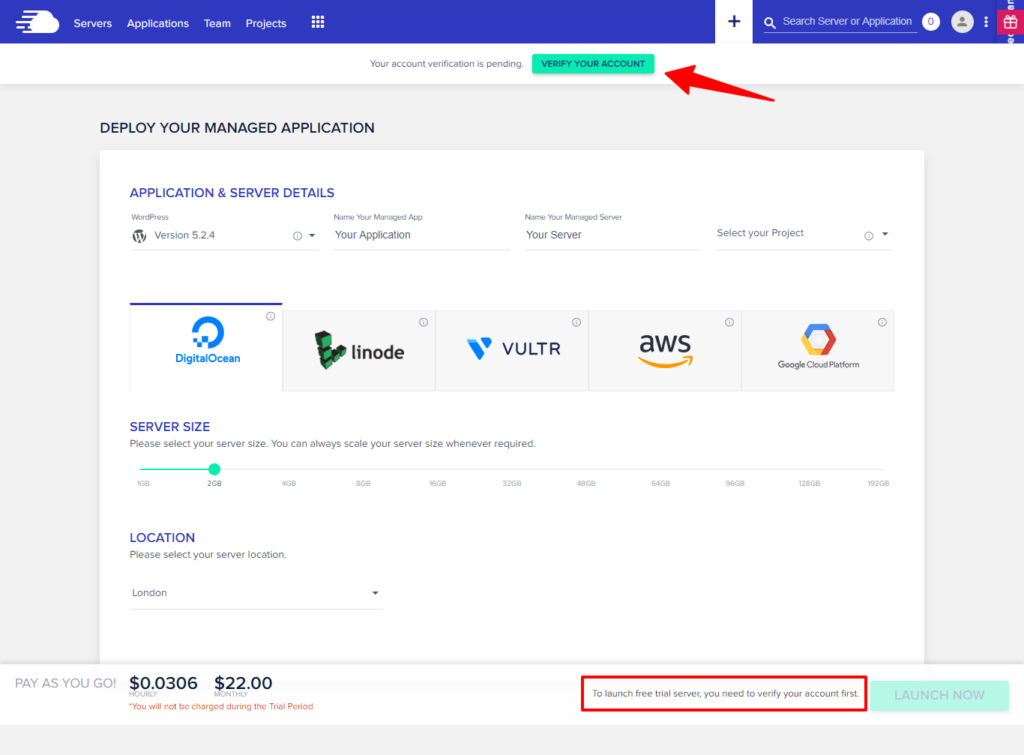
Step 2: Verify Your Account
On the next screen, you will be asked to verify your new account before you can actually create your server.
In my opinion, this could be a little less confusing. There’s a line of text at the bottom of the screen that says “To launch the free trial server, you need to verify your account first.”
So click on the button at the top that says “Verify Your Account”.
The next screen will begin verification of your account using your telephone number and email account.
Step 3: Verify Your Telephone Number
To verify your telephone number, you must enter your real telephone number. Cloudways does not accept VoIP or Skype numbers.
When you enter your telephone number, you can choose to either an SMS message or Voice Call to receive your activation code.
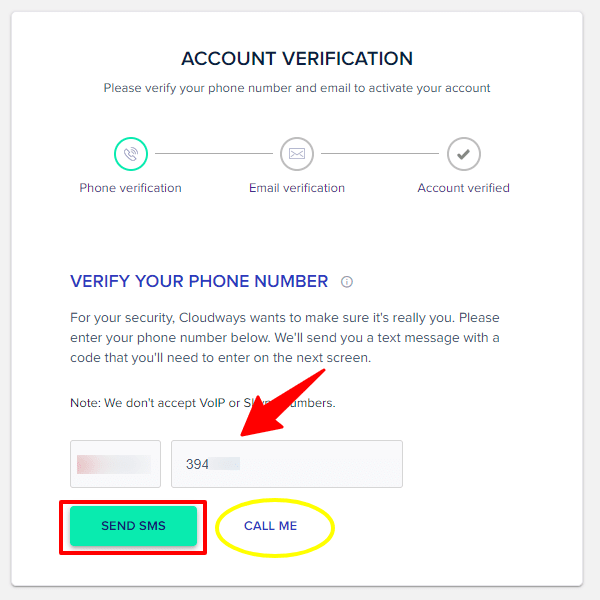
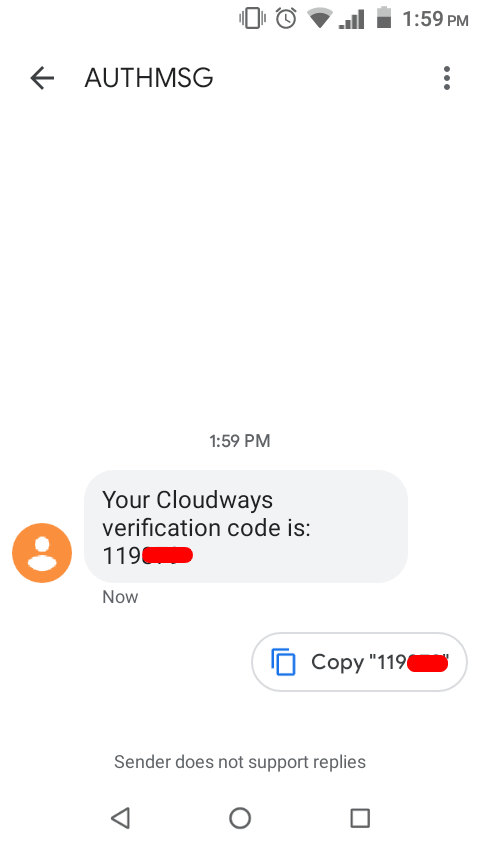
If you choose SMS, you will receive a 6-digit code from Cloudways like this, which you will enter on the next screen:
Step 4: Verify Your Email Address
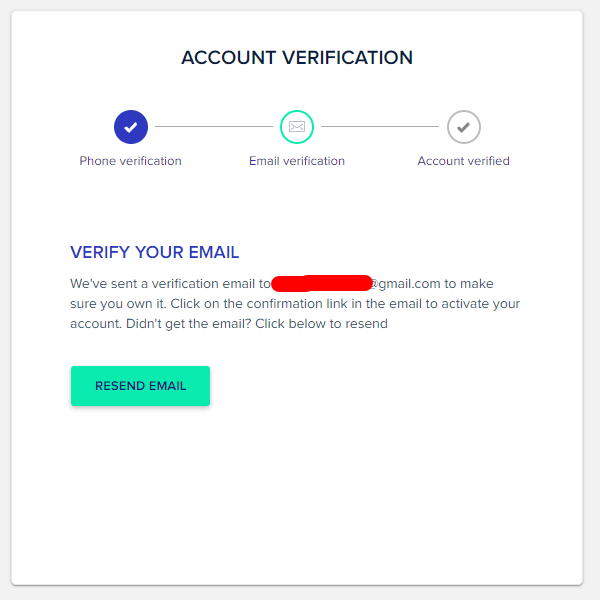
Once your telephone number has been verified, you must verify your email address.
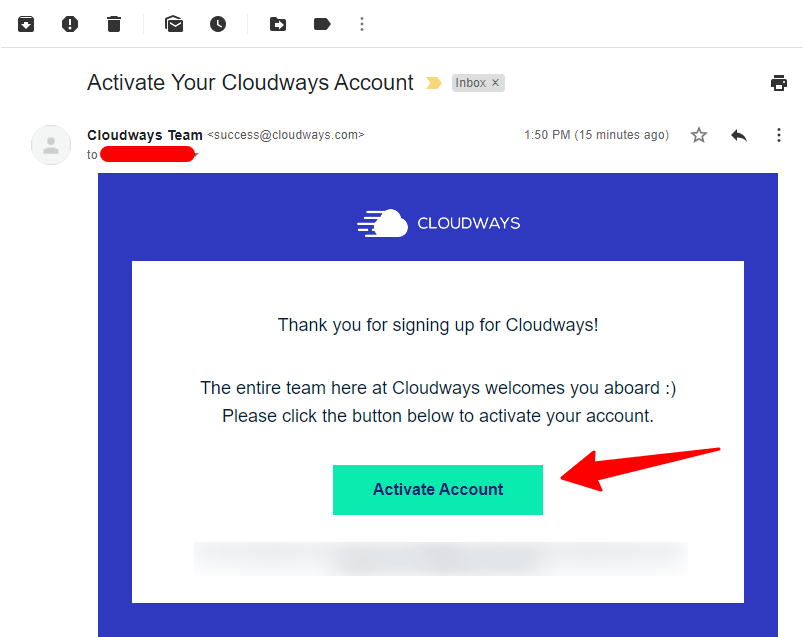
Cloudways will automatically send you an email to the address you used to sign up for your account.
In that email is a button to “Activate Account”, which you must click to complete verification of your account and receive your Cloudways free trial.
Your Cloudways account is now activated and your 3-day free trial is live and counting down!

Step 5: Choose and Configure Your Server
Cloudways is basically a reseller of other cloud hosts’ services. They add their proprietary point-and-click management system to make things easy for us non-developers to work with.
The cheapest plan at Cloudways should be more than sufficient to start and build out your directory website with. That’s Digital Ocean’s 1GB RAM plan, which also includes 1 CPU core, 25GB of storage and 1TB monthly data transfer.
You can always scale up resources if you need it.
But, here’s some advice. If you are building a local directory, you may want to choose a provider with a server located close to you. Check the Linode and Vultr server locations as well.
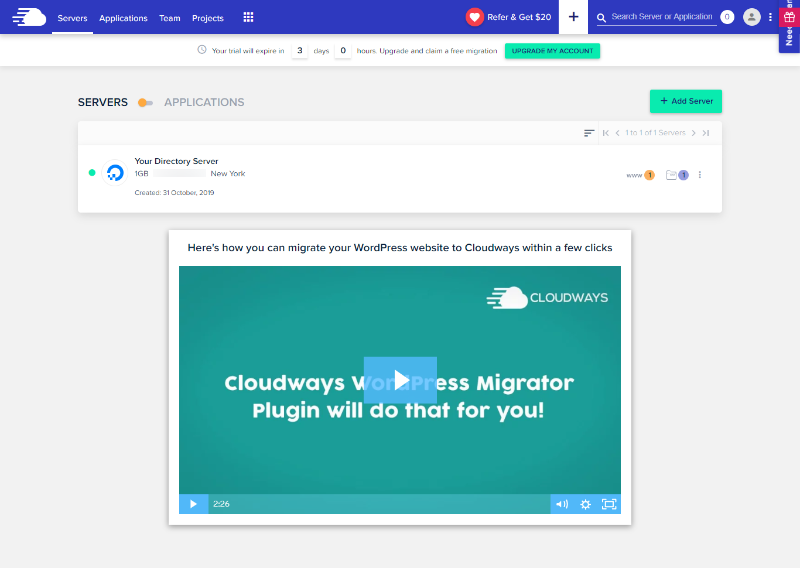
Once you’ve made your choice, click “Launch Now” to deploy your chosen server.
Your server will take a few minutes to launch. Once it does, dig in to Cloudways knowledgebase to learn how to easily install WordPress or another PHP-based website.
Conclusion
As you can see, Cloudways has made it simple enough for a non-developer to get the benefits of managed cloud hosting. You can’t go wrong with a 3-day free trial to see if it’s for you.
If you decide to click our link and get the Cloudways free trial, we will earn a commission if you become a paid user. This does not increase your cost in any way.
If you need any assistance with installing WordPress, adding your domain name or SSL on Cloudways, we’re happy to help. Shoot us an email to [email protected].